


Food waste can be a significant hassle in the kitchen, from its unpleasant smell and the mess it creates to its detrimental effects on the environment. When food waste ends up in landfills, it decomposes anaerobically, releasing harmful methane gas that contributes to the greenhouse effect and environmental pollution. Fortunately, there’s a natural solution to this problem: composting. In this article, we will introduce you to an effective electric kitchen composter and here are the topics we're going to cover:
- Transform your kitchen waste with the Neakasa electric composter
- Considerations before using the Neakasa kitchen composter
- Initial setup steps
- Regular use of Neakasa kitchen compost bin
- Fetch fertilizer
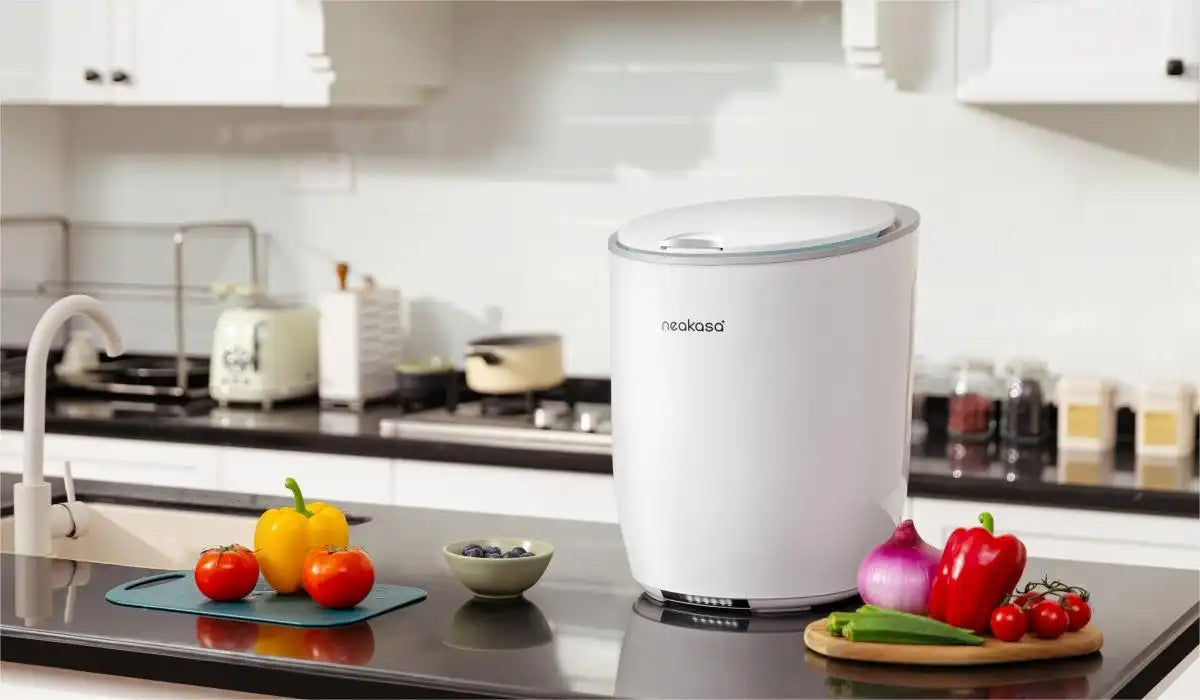
Transform your kitchen waste with the Neakasa electric composter
Food waste will slowly decompose and turn into fertilizer under natural conditions. The Neakasa Electric Composter leverages modern technology to enhance this natural process. By creating optimal conditions for microorganisms to thrive, this innovative appliance accelerates the decomposition of food waste. In just 48 hours or less, your kitchen scraps are transformed into nutrient-rich fertilizer. This not only makes composting quick and easy but also significantly reduces your carbon footprint.
Join us in turning waste into valuable energy and making a positive impact on our planet with the Neakasa Electric Composter.
Considerations before using the Neakasa kitchen composter
- Please place the product in a well-ventilated area, such as on a table or the floor. Suitable locations include kitchen countertops and indoor garden balconies.
- This product is designed for indoor use only. Please do not place it in outdoor areas, enclosed spaces, or moist environments such as gardens,bathrooms,or bedrooms.
- If the product is placed in an area prone to wetness,ensure it is at least 4.3in (10cm) above the floor to avoid the risk of electrical shock from water contact.
- Place the product on a level surface to ensure optimal performance.
- Ensure there is a gap of at least 2in (5cm) between the product and any walls to facilitate the discharge of purified gas.
Initial setup steps
- Remove the product from its packaging and place it on a flat surface near a power supply.
- Take out the filter box and pour theactivated carbon into it.
- Close the filter box and reinstall it in place.
- Take out the microorganism pack.
- Connect the product to the power supply andensure it is powered on before proceeding.
- Pour the whole pack of microorganismsinto the product and spread evenly.
- Add approximately 27oz (800ml) of clean water,close the lid and let the product run for at least 20 hours to activate the microorganisms.
- You may start adding food waste to the kitchen composter.

Regular use of Neakasa kitchen compost bin
- Once the machine is installed and the microorganisms are fully activated, you can begin adding food waste.
- Gently press the lid release button to open the lid and place food waste inside. The machine will then process it automatically.
- Precautions When Adding Food Waste
For optimal composting performance, it is recommended to add nomore than 1.76 lbs (800 g) of food waste per day and to not exceed the maximum scale line on the inner tank wall each time.
For food waste containing significant amounts of liquid, such as soup orsauce, drain off the excess liquid before adding it to the composter.
If the food waste is rich in salts or oils (e.g., kimchi, bacon, etc.), plase clean and rinse it before adding it to the composter.
Note: You can add food waste at any time. The product will stop automatically when the lid is opened and resume operation automatically when the lid is closed. This is a normal setting to ensure safety when putting food waste.
Fetch fertilizer
Please stop adding food waste 48 hours before collecting fertilizer. This allows sufficient time for the waste to decompose and ferment.
The flashing green light indicates that the composting process is complete. This signifies that the internal food waste has been fully decomposed and fermented, and you may now open the lid to retrieve the fertilizer.

Note:
When collecting fertilizer, ensure that you do not deplete it below the minimum level marked inside the container. This ensures there are enough microorganisms remaining, allowing you to continue adding food waste without needing to add extra microorganism packs each time.
What are you still hesitating about? Buy one Neakasa compost bin now and try it out.


Leave a comment
This site is protected by reCAPTCHA and the Google Privacy Policy and Terms of Service apply.