


Learning how to use a dry iron may feel old-fashioned in today’s world of high-tech steam appliances, but it’s still an essential tool. A traditional dry iron is perfect for delicate fabrics, heat transfers, and creating sharp, professional creases—without the risk of water spots.
If you’ve ever scorched a shirt or noticed a musty smell after ironing, this guide will show you how to use a dry iron correctly for consistently crisp, clean results.
Key Takeaways
- Always check the label: Understanding garment care symbols is non-negotiable before applying any dry heat.
- Temperature control is everything: Start with your most delicate fabrics on low heat and work your way up to cottons and linens.
- Press, don’t drag: Use a firm pressing motion to avoid stretching the fabric fibers.
- Dry ironing requires slight dampness: Lightly spritzing heavily wrinkled clothes with distilled water makes dry ironing infinitely more effective.
Dry Iron vs. Steam Iron: When to Use Which?
Choosing the right tool for the job is the first step to wrinkle-free clothes. Here is a quick breakdown to help you decide when to reach for the dry iron.

| Feature | Dry Iron | Steam Iron |
|---|---|---|
| Heat Source | Solid soleplate (direct contact) | Hot water vapor + soleplate |
| Best For | Silk, Satin, Delicates, Crisp Pleats | Cotton, Linen, Heavy Denim |
| Main Advantage | No leaking; crisper creases | Faster for deep wrinkles |
| Mildew Risk | None (Evaporates moisture) | High (If clothes are stored damp) |
The Verdict: Use a dry iron when you need a razor-sharp finish or when working with fabrics that develop “water spots” (like certain silks). Use a steam iron for heavy-duty wrinkles in thick natural fibers.
Fabric-by-Fabric Dry Ironing Parameters Table
Using the correct temperature is non-negotiable. Use this table as your go-to reference before the hot soleplate touches your clothes.
| Fabric Type | Iron Setting | Temperature Range | Ironing Technique |
|---|---|---|---|
| Nylon / Acetate | Low | Cool (110°C / 230°F) | Iron inside out; use a pressing cloth. |
| Silk / Polyester | Low to Medium | Cool (110°C / 230°F) | Iron while slightly damp; use a pressing cloth. |
| Wool | Medium | Warm (150°C / 300°F) | Iron inside out; press firmly and lift. |
| Cotton | High | Hot (200°C / 390°F) | Spray lightly with water before pressing. |
| Linen | Very High | Max (220°C / 428°F) | Requires significant pressure and a damp surface. |
Pre-Ironing: Zero-Mistake Checklist & Prep Work
A flawless finish starts before the iron is even turned on. Follow this checklist to ensure you never accidentally ruin a garment.
1. 5-Second Safety Inspection Before Plugging In
Always inspect your equipment. Check the power cord for any fraying or exposed wires. Look at the soleplate (the bottom of the iron) to ensure there is no sticky residue, burnt fabric, or rust that could transfer onto your clean clothes. If the plate is dirty, clean it before proceeding.
2. What Garment Care Symbols Mean for Dry Ironing

Read the tags! The ironing symbol is a small outline of an iron.
- Iron with one dot: Low heat (Synthetics, Silk).
- Iron with two dots: Medium heat (Wool).
- Iron with three dots: High heat (Cotton, Linen).
- Iron with an X: Do not iron.
- Iron with crossed-out steam lines: Dry iron only (no steam).

3. Prep Work That Cuts Your Ironing Time in Half
Sort your laundry pile before you start. Group your clothes by fabric type: low heat, medium heat, and high heat. Set up a sturdy ironing board with a smooth, padded cover. For stubborn wrinkles on cotton or linen, keep a spray bottle filled with clean water nearby to lightly mist the fabric before the hot iron hits it.
How to Use a Dry Iron for Perfect Results Every Time
Mastering how to use a dry iron is all about temperature management and physical technique. Follow these steps for a perfect press.
Step 1: Correct Preheating & Temperature Setting
Plug in the iron and stand it upright on its heel. Turn the dial to the lowest setting required for your sorted pile. Wait a few minutes for the indicator light to signal that the iron has reached the target temperature. Never test the heat with your bare hands.
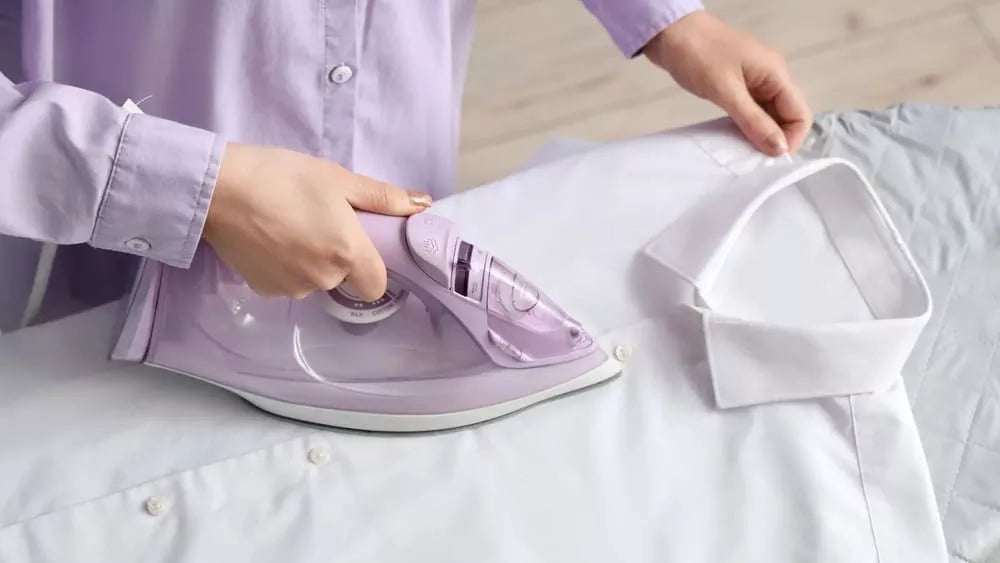
Step 2: Press, Don’t Slide – The Right Ironing Motion

A common mistake is aggressively pushing and sliding the iron back and forth, which stretches and distorts the fabric. Instead, lift the iron slightly, place it down on the wrinkled area, apply firm downward pressure for a few seconds, and lift again. This “pressing” technique yields sharper results and protects the garment’s shape.
Step 3: Garment Ironing Order: Start Low, End High
Always begin with your low-heat items like silks and synthetics. Once those are finished, turn the dial up to medium for wools, and finally finish with the highest heat settings for your cottons and linens. Irons heat up much faster than they cool down, so this order prevents you from accidentally burning a delicate shirt with a still-cooling iron.
Step 4: Post-Ironing Cool-Down & Safe Storage
When you are finished, turn the dial to the “Off” or “Min” position and unplug the iron. Always leave it standing upright on its heel on a stable, heat-resistant surface until it is completely cool. Never wrap the cord tightly around a warm iron, as this can damage the wiring over time.
Upgrade Your Ironing Routine: Faster, Safer Wrinkle Removal Solution
While dry irons are fantastic for crisp creases and heavy fabrics, they require time and a dedicated ironing board. If you find yourself dreading laundry day, consider upgrading your routine with the Neakasa Magic 1. It acts as the perfect modern alternative, quickly relaxing wrinkles out of delicate items while offering superior garment protection:
- No Ironing Board Needed: Smooth out clothes directly on the hanger, drastically cutting down your prep time.
- Zero Scorch Risk: A gentler alternative that safely handles delicate everyday wear without the danger of a hot iron plate.
- Eliminates Mildew & Odors: Deep-penetrating steam instantly refreshes stored garments and neutralizes musty smells.
- Ultra-Fast Heat-Up: Ready in seconds, making it the ultimate grab-and-go wrinkle solution for busy mornings.
How to Fix & Avoid Common Dry Ironing Disasters
Mistakes happen, but most are preventable or fixable if you act quickly.
1. Fixing Scorch Marks on Clothes
If you accidentally scorch a garment, acting quickly is your best chance at saving the fabric. Here is how to treat those burn marks based on their severity:
- Remove from heat immediately: Take the iron off the clothing the second you notice a scorch mark.
- Treat light scorches (cotton/linen): Gently rub white vinegar into the stain with a clean cloth, then wipe the area clean with water.
- Tackle tougher marks: Lightly apply hydrogen peroxide to the affected area. Crucial step: Always test this on a hidden inside seam first to ensure it won’t bleach the fabric’s dye!
2. Preventing Dampness and Mildew Smells in Clothes
Using a spray bottle to dampen clothes makes dry ironing much easier, but improper storage right after pressing can lead to musty odors. Follow these rules to keep your clothes smelling fresh:
- Delay storage: Do not fold or hang freshly ironed, slightly damp clothes directly into a dark, enclosed closet. The trapped moisture and darkness create a perfect breeding ground for mildew.
- Air-dry first: Hang your garments in an open, well-ventilated room immediately after ironing.
- Ensure total dryness: Wait until absolutely all residual moisture has evaporated from the fabric before packing them away in your wardrobe.
FAQs
Q1. Do I need an ironing board to use a dry iron?
A1. While highly recommended, it isn’t strictly necessary. You can use a heat-resistant ironing mat on a hard, flat surface like a table. Avoid soft surfaces like beds or couches, which don’t provide enough resistance for effective pressing.
Q2. What’s the difference between a dry iron and a garment steamer?
A2. A dry iron uses direct contact, heat, and physical pressure to flatten fibers, making it ideal for sharp creases and stiff fabrics. A garment steamer uses hot, misty steam to relax fibers without direct heavy pressure, making it better for soft drapes, quick touch-ups, and delicate fabrics that might crush under an iron.
Q3. How do I clean the bottom plate of a dry iron?
A3. Always ensure the iron is unplugged and completely cool. Wipe the soleplate with a paste of baking soda and water. For sticky residue, gently rub the cold plate with a cloth dampened with white vinegar.
Q4. Can you use a dry iron on wet clothes?
A4. No. Ironing soaking wet clothes can literally boil the fabric fibers, causing permanent damage. Your clothes should be completely dry, or only very lightly misted with a spray bottle to tackle stubborn wrinkles.
Conclusion
Learning exactly how to use a dry iron unlocks a new level of wardrobe care. By understanding your fabrics, mastering the pressing technique, and respecting the temperature dial, you can achieve professional, crisp results right at home.
Remember to start low, press rather than drag, and always let your garments cool and dry fully before storing them. With these expert tips, you will keep your clothes looking pristine, structured, and completely scorch-free.


Leave a comment
All comments are moderated before being published.
This site is protected by hCaptcha and the hCaptcha Privacy Policy and Terms of Service apply.