Whether you're heading into a job interview, attending a wedding, or simply want to look sharp every day, knowing how to iron clothes properly can make a big difference in your appearance. If you’ve ever wondered how to get started—or how to iron clothes like a pro—you’re in the right place.
This guide walks you through everything from preparation to technique, offering realistic and effective methods that even total beginners can follow.
What You Need to Prepare Before Ironing Your Clothes
Before you start ironing, preparation is key. Having the right tools and understanding your clothing materials can make all the difference in achieving wrinkle-free perfection.
1. Iron Tools
Just like cooking requires the right utensils, ironing needs the right tools. For most people, that means choosing between a steam iron and a handheld steamer.
Each works well, but the best choice depends on your clothing and how polished you want the results. Let’s take a closer look.
| Tool | Best For | Key Benefits |
|---|---|---|
| Steam Iron | Crisp lines, structured garments (e.g., dress shirts, trousers, cotton fabrics) |
Delivers concentrated heat and steam for precise control—ideal for collars, cuffs, and pleats. |
| Handheld Steamer | Delicate fabrics (e.g., silk, chiffon, lace), ruffled or embellished garments |
Gentle and fast—great for touch-ups and garments difficult to iron flat. |
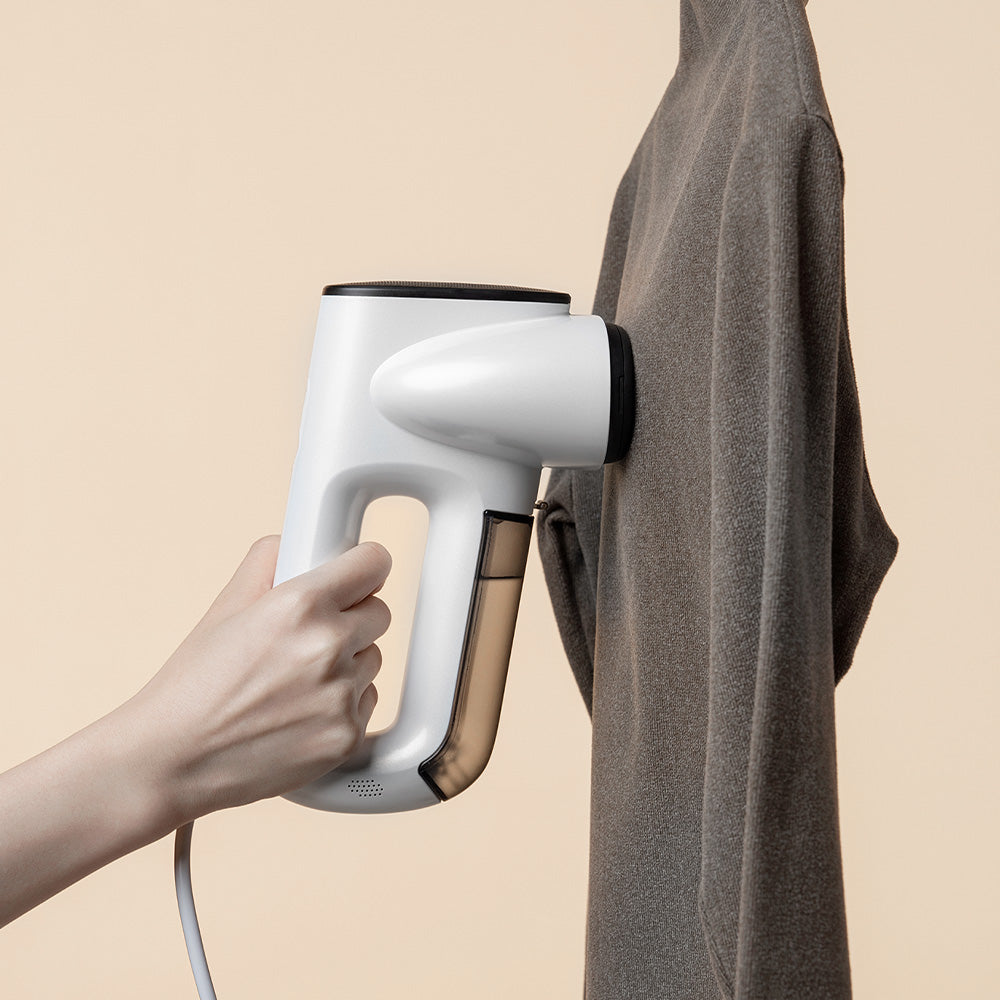
If you want the convenience of a steamer with the performance of an iron, try the Neakasa Magic 1 Vacuum Steamer.
This innovative 2-in-1 appliance not only removes wrinkles quickly but also sanitizes garments with high-temperature steam.

- AirIron Technology for Instant Wrinkle Removal.
- Effortless One-Handed Operation, Safe & Easy.
- Triple the Speed, Triple the Results.
2. Ironing Board
A proper ironing board is more than just a flat surface—it enhances your comfort and results. Look for these features:
- Adjustable Height: Allows you to stand or sit comfortably while ironing.
- Sturdy Frame: Prevents wobbling and ensures safety during use.
- Padded Cover: Reflects heat back into the fabric and improves wrinkle removal.
If space is limited, a tabletop ironing board or foldable wall-mounted option can be a great alternatives.

3. Preparing the Clothes
Before pressing a single wrinkle, make sure your garments are ready. Skipping this step can damage fabrics or waste your time.
4. Check the Care Label
Before ironing any garment, always check the care label—it provides essential information such as the recommended ironing temperature, whether steam can be used, and if ironing is safe at all.
- Iron symbol with dots (1 dot = low heat, 3 dots = high heat)
- Iron with a cross = do not iron
- Steam icon = safe for steam
Following these instructions helps you avoid damaging your clothes by burning, melting, or shrinking the fabric.

5. Ensure Clothes Are Clean and Slightly Damp
Ironing dirty clothes can lead to permanent stains, as heat can set dirt and oils into the fabric. Always iron clean garments.
- Iron clothes while they’re still slightly damp from the wash
- Or use a spray bottle to lightly mist areas before ironing
- Steam irons work better when clothes have a bit of moisture
Avoid over-wetting, especially for delicate fabrics—light misting is enough.
6 Simple Steps to Professionally Iron Clothes (Even for Beginners)
With your tools ready and your clothes prepped, you're now ready to follow these step-by-step instructions. Whether you're a first-timer or looking to improve your technique, these steps are foolproof.
Step 1: Check the Care Label Again
It’s worth double-checking! Different materials require different heat settings. For example, cotton needs high heat, while silk and synthetics need low.
Step 2: Prepare Tools and Space
Set up your iron on a stable board, fill the iron with distilled water if using steam, and make sure your space is well-lit and clutter-free.
Step 3: Sort Clothes by Fabric Type
Always iron from low heat to high heat. Start with delicate fabrics like silk and end with cottons or linens. This minimizes the risk of burning and avoids constantly adjusting the temperature.
Step 4: Iron Small Areas First
Start with collars, cuffs, and sleeves. These details are most visible and require precision. Then move to larger areas like the body of the shirt.
Step 5: Protect Delicate Fabrics
For silk, chiffon, or synthetics, place a thin cotton cloth (like a handkerchief) between the iron and the garment to avoid direct heat damage.
Step 6: Hang or Fold Immediately
Don't let your hard work go to waste. Hang your clothes right after ironing to maintain that crisp look. For items that must be folded, do so neatly and avoid tight creases.
Tips for Ironing Different Fabric Types
Each fabric behaves differently under heat. Use these pro tips for specific materials:
| Fabric Type | Fabric Characteristics | Ironing Tips |
|---|---|---|
| Cotton | Durable, breathable, wrinkles easily | Use high heat with steam. Iron inside-out to avoid shiny marks. |
| Linen | Lightweight, breathable, wrinkles heavily | Also requires high heat. Spray with water and iron while slightly damp. |
| Silk | Smooth, delicate, prone to water stains | Use low heat and always iron on the reverse side with a pressing cloth. |
| Wool | Thick, retains shape, prone to shrinkage | Steam works best. Avoid direct contact—use a cloth barrier. |
| Polyester/Synthetics | Lightweight, wrinkle-resistant, sensitive to heat | Very sensitive to heat. Use the lowest setting and iron gently. |
FAQ About Ironing Clothes
Q1: Can I iron clothes without an ironing board?
A: Yes, use a clean flat surface like a table covered with a thick towel, but be cautious of heat damage.
Q2: Is steaming better than ironing?
A: Steaming is great for quick wrinkle removal and delicate fabrics, but ironing is better for sharp creases and formal wear.
Q3: Should I use tap water in my steam iron?
A: Distilled water is ideal to prevent mineral buildup inside your iron.
Q4: Can I iron clothes while they’re still damp from the wash?
A: Yes, slightly damp clothes iron more easily, but make sure they’re not dripping wet.
Conclusion: Mastering the Art of Ironing
Ironing doesn’t have to be frustrating or complicated. With the right tools, a little preparation, and the step-by-step method outlined above, you can go from wrinkled to wrinkle-free in no time. Whether you're learning how to iron clothes for beginners or trying to iron professionally, consistency and care are key.
Now that you know how to iron clothes like a pro, why not upgrade your tools? A good iron or steamer makes all the difference. Try something like the Neakasa Magic 1 Vacuum Steamer to see the results for yourself.


Leave a comment
This site is protected by hCaptcha and the hCaptcha Privacy Policy and Terms of Service apply.